Build Your First AI Agent (Step-by-Step)
Create, train, and deploy your first AI Agent in under 5 minutes. This guide covers everything from setting up the AI brains to going live on Telegram.
In just a few minutes, you'll have a fully functional AI Agent trained on your specific business data. Let's follow the logical flow of building a professional agent.
Overview of the Workflow
To build a complete agent, we follow these 5 essential steps:
1. Setup Embedding Model
Prepare the search engine that will understand and "read" your data.
2. Initialize Knowledge Base
Upload your documents and train the agent on your facts.
3. Configure Dialogue Model (LLM)
Setup the conversational brain (the model that talks to users).
4. Construct the Pipeline
Connect the models and knowledge into a single processing unit.
5. Deploy your Bot
Connect your pipeline to a platform like Telegram.
Step 1: Setup Embedding Model (The Search Engine)
Embedding models are used to compute vector representations of messages. If you wish to use a Knowledge Base, you must configure an embedding model first.
Navigate to Models > Embedding Models and click Add New Model.
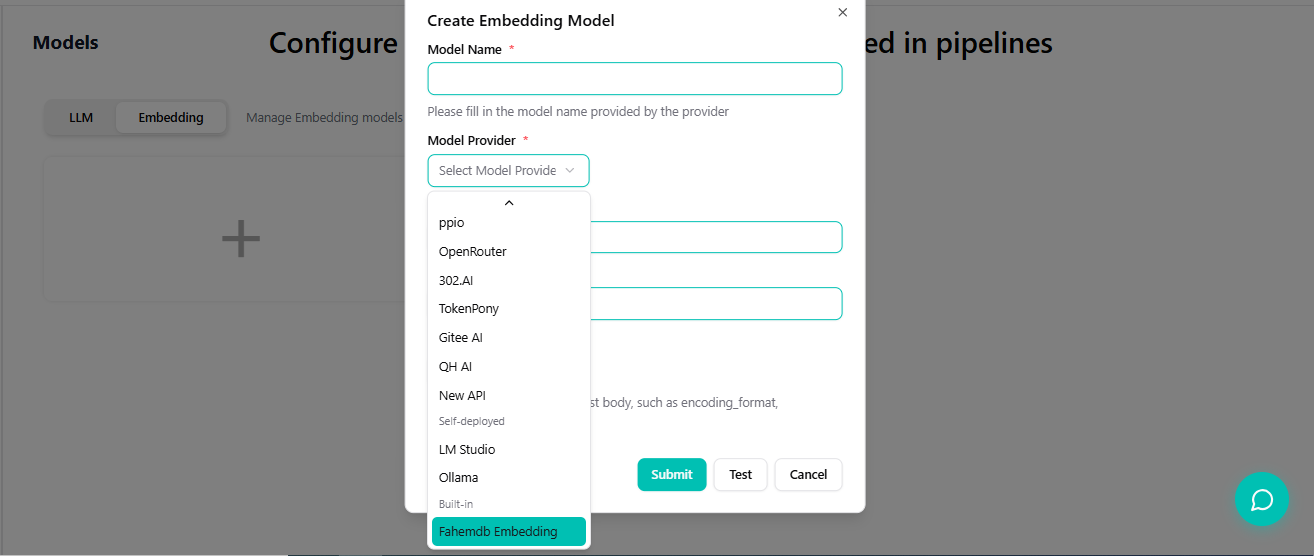
Then select Fahemdb-built-in as the provider to simplify the process.
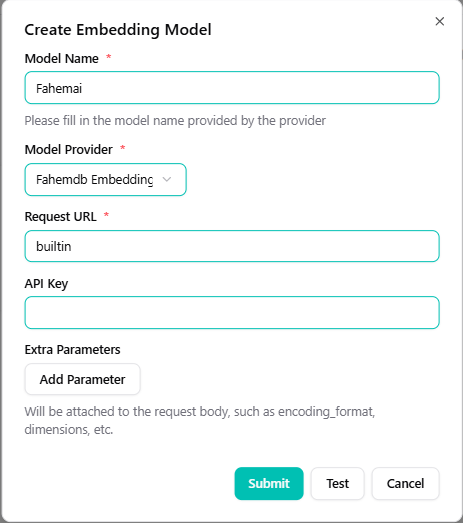
Option A: Using Built-in Model (Zero Configuration)
The system integrates an official embedding model (Fahemdb-built-in) that requires no parameters or API keys.
- On the "Embedding Model" page, select Fahemdb-built-in.
- Click Save to use it immediately.
- Later, select this model when creating your Knowledge Base.
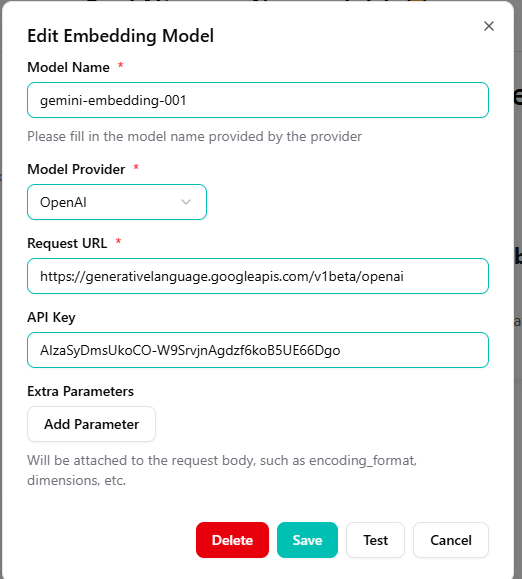
Option B: Custom Embedding Model
To use an external provider (like Google Gemini), you will need to enter these four parameters: Model Name, Model Provider, Request URL, and API Key. After submitting, you can select it in your knowledge base.
Step 2: Initialize Knowledge Base
Now that we have the search engine ready, let's feed your agent some information.
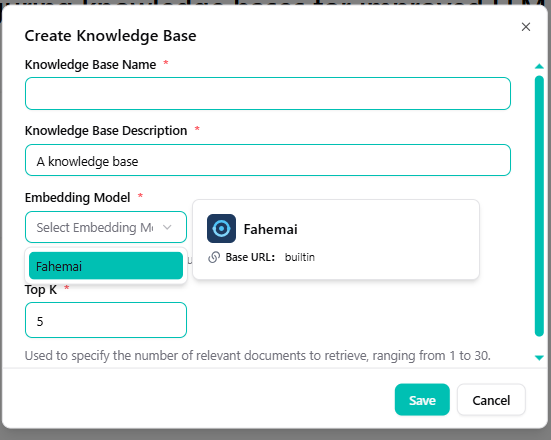
- Go to the Knowledge section in the sidebar.
- Click the + (Plus) button and give your KB a name (e.g., "Company FAQ").
- Crucial: Select the Embedding Model you configured in Step 1.
Add Training Data
You can now upload your files or text:
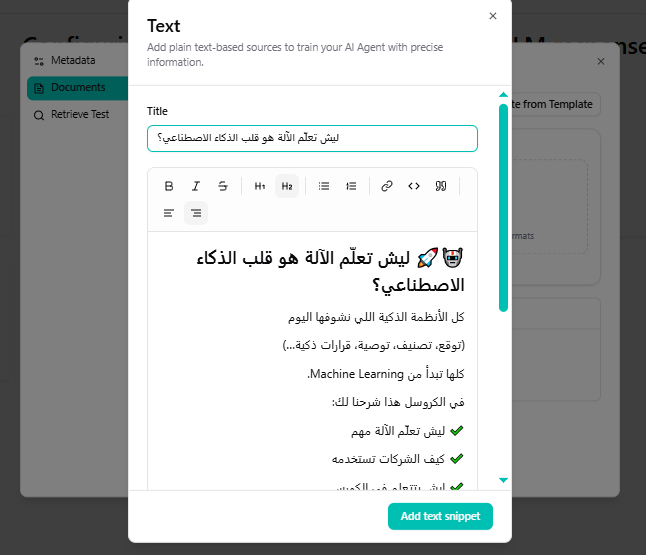
- Files
- Text Snippets
Upload PDFs or Word docs.
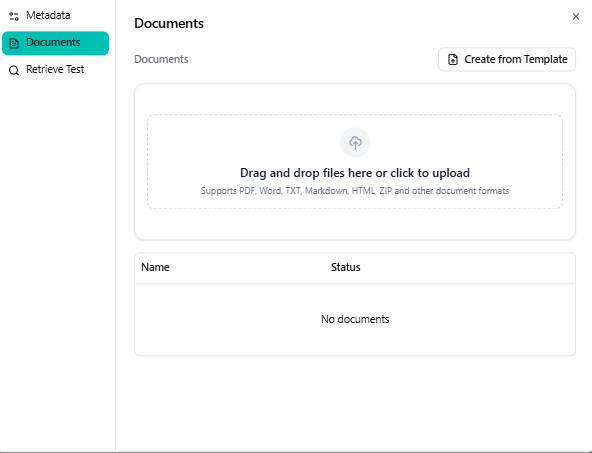
Paste raw text content.
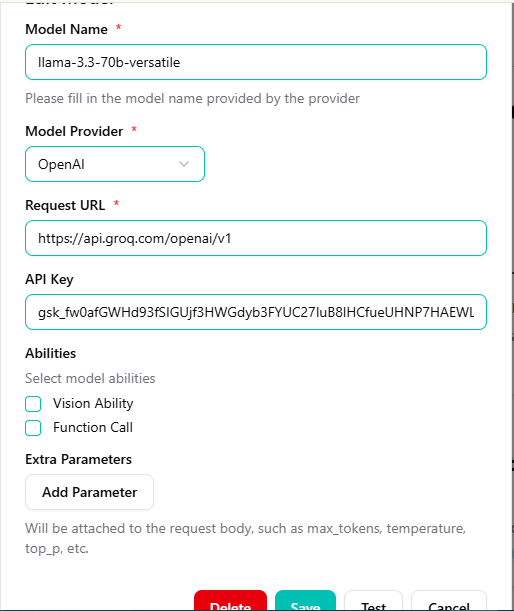
Step 3: Configure Dialogue Model (The Brain)
This is the Large Language Model (LLM) that will actually speak to your users.
- Go to Models > LLM Models.
- Click Add New Model.
- Select a provider (e.g., OpenAI, Groq) and enter your API Key.
- Set the Model Name (e.g.,
gpt-4oorllama-3.1-70b).
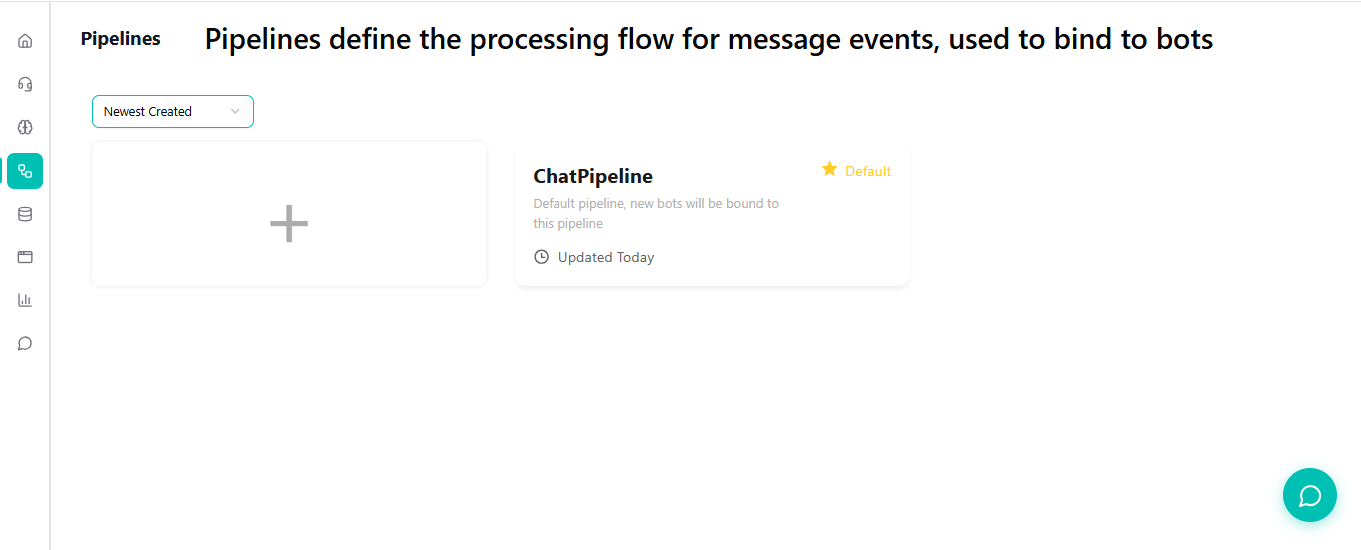
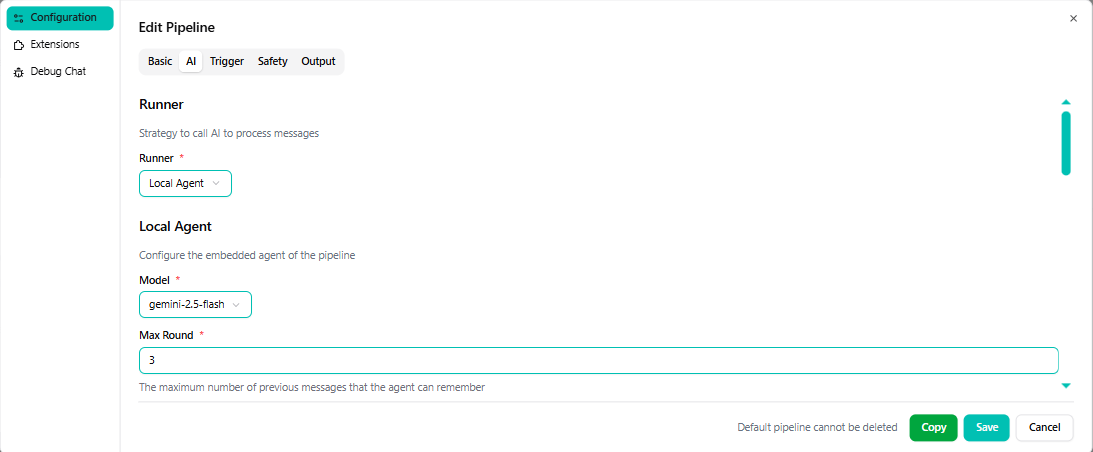
Step 4: Construct the Pipeline (The Logic)
The Pipeline is the "glue" that connects your Knowledge Base and your LLM brain. It defines the flow of information.
Access Pipelines
Navigate to Pipelines in the sidebar. You can use the Default Pipeline or create a new one.
Configure AI & Model
In the AI tab, set the runner to Local Agent and select the Dialogue Model you configured in Step 3.
Set Personality (Prompt)
Define the Prompt to give your agent a specific identity and set of rules (e.g., "You are a professional support agent for FahemAI").

Attach Knowledge
Click + Add Knowledge Base and select the "Company FAQ" KB we created in Step 2. This ensures the agent uses your data to answer.
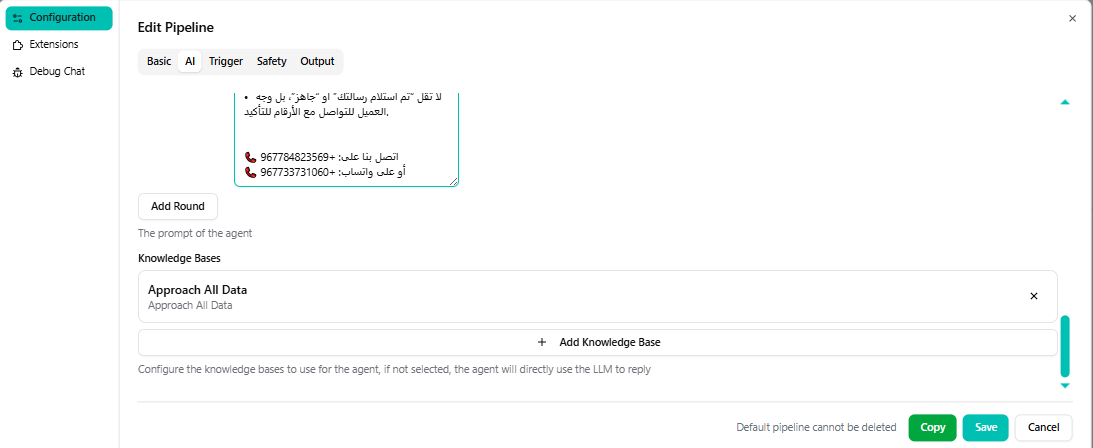
FahemAI will use the Knowledge Base to find facts and then use the LLM to write a friendly response to the user.
Step 5: Deploy your Bot (Telegram Example)
The final step! Let's connect your AI Pipeline to a real messaging platform.
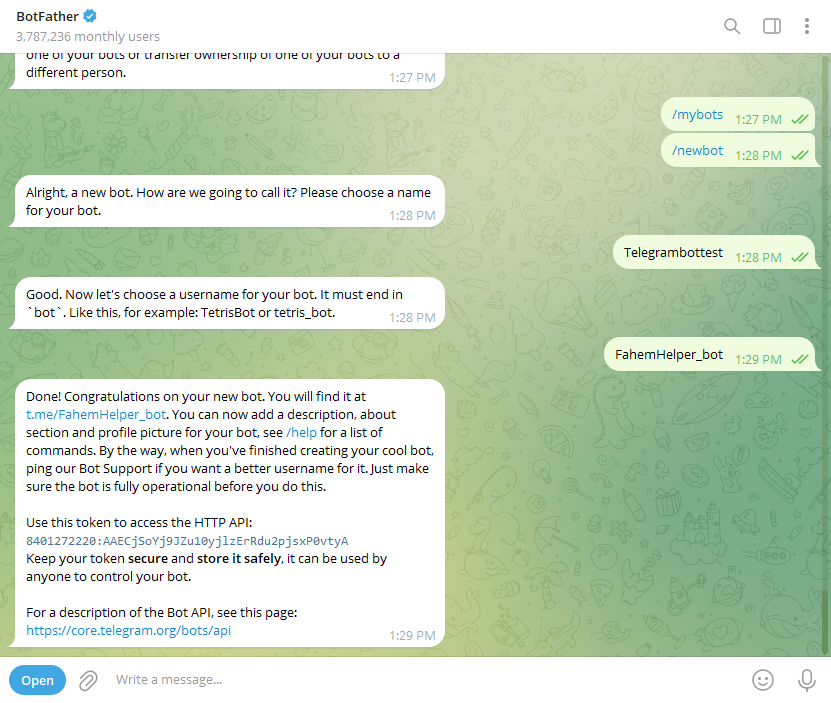
Create your Telegram Bot
- Open Telegram and search for @BotFather.
- Send the command
/newbot. - Follow the instructions to give your bot a Name and a Username (must end in
_bot). - Copy the API Token provided at the end. You'll need this to connect to FahemAI.
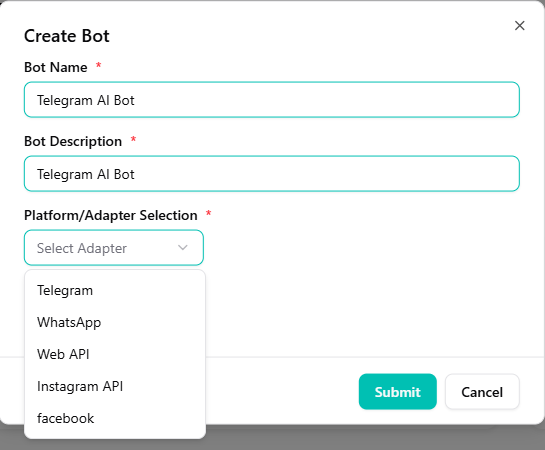
Add Telegram Integration in FahemAI
- Navigate to the Bots section in the sidebar.
- Click the + (Plus) button and select Telegram from the dropdown menu.
- In the "Create Bot" modal, enter a Name and Description for your bot.
- Paste the API Token you got from BotFather into the corresponding field.
- Click Submit.
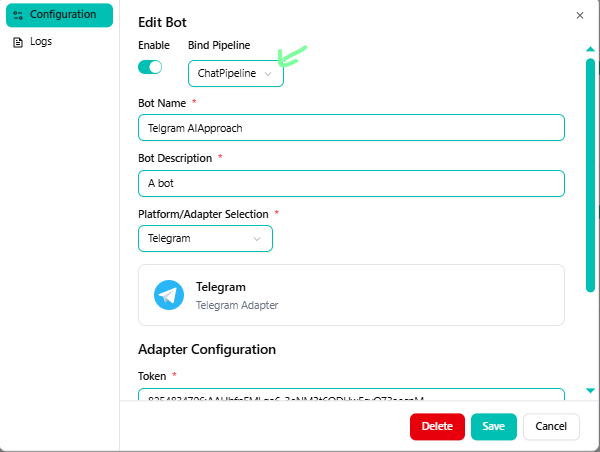
Link your Pipeline
- Once the bot is created, click on Settings (or the Edit icon) for your new Telegram bot.
- Choose Pipeline: Select the pipeline you configured in Step 4 from the dropdown menu. This links your AI logic to this specific Telegram account.
- Click Save or Update.
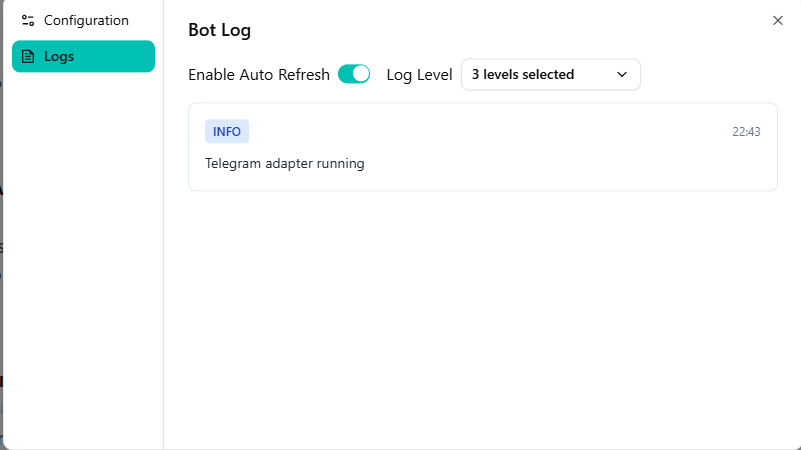
Test it Live!
Open your bot on Telegram and send a message like "Hello" or ask a question about your knowledge base. Your AI Agent will process the message through the pipeline and respond instantly.
🎉 You're Done!
You have successfully built a professional, RAG-powered (Retrieval-Augmented Generation) AI agent.
✅ Knowledge Base trained on your data.
✅ Pipeline configured with high-performance models.
✅ Bot live on Telegram.